What a Keurig cleaning pod actually does
A Keurig cleaning pod is a single-use capsule you brew in place of a coffee pod. Water passes through it and the pod releases a rinse that flushes the brew chamber and the exit needle, the two spots where coffee oils and flavor compounds collect between cups.
Keurig's own version is sold as a rinse pod, and its job is narrow: reduce flavor carry-over so the next cup tastes like itself again. Third-party cleaning pods take the same approach but differ in what sits inside. Some are rinse-style, some carry a cleaning formula aimed at coffee oils and stains on the pod holder. The label is the only reliable guide to which one you have, so read it before you assume a pod does more than rinse.
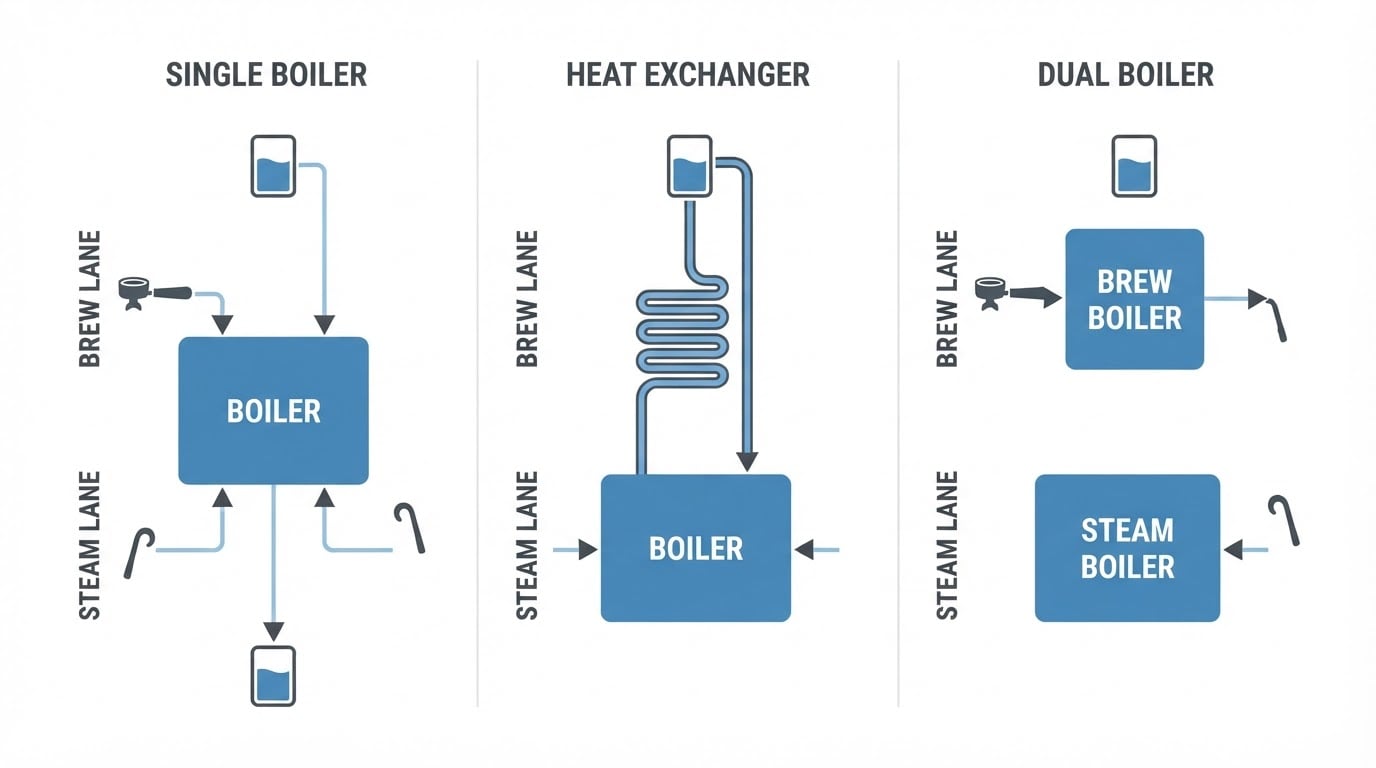
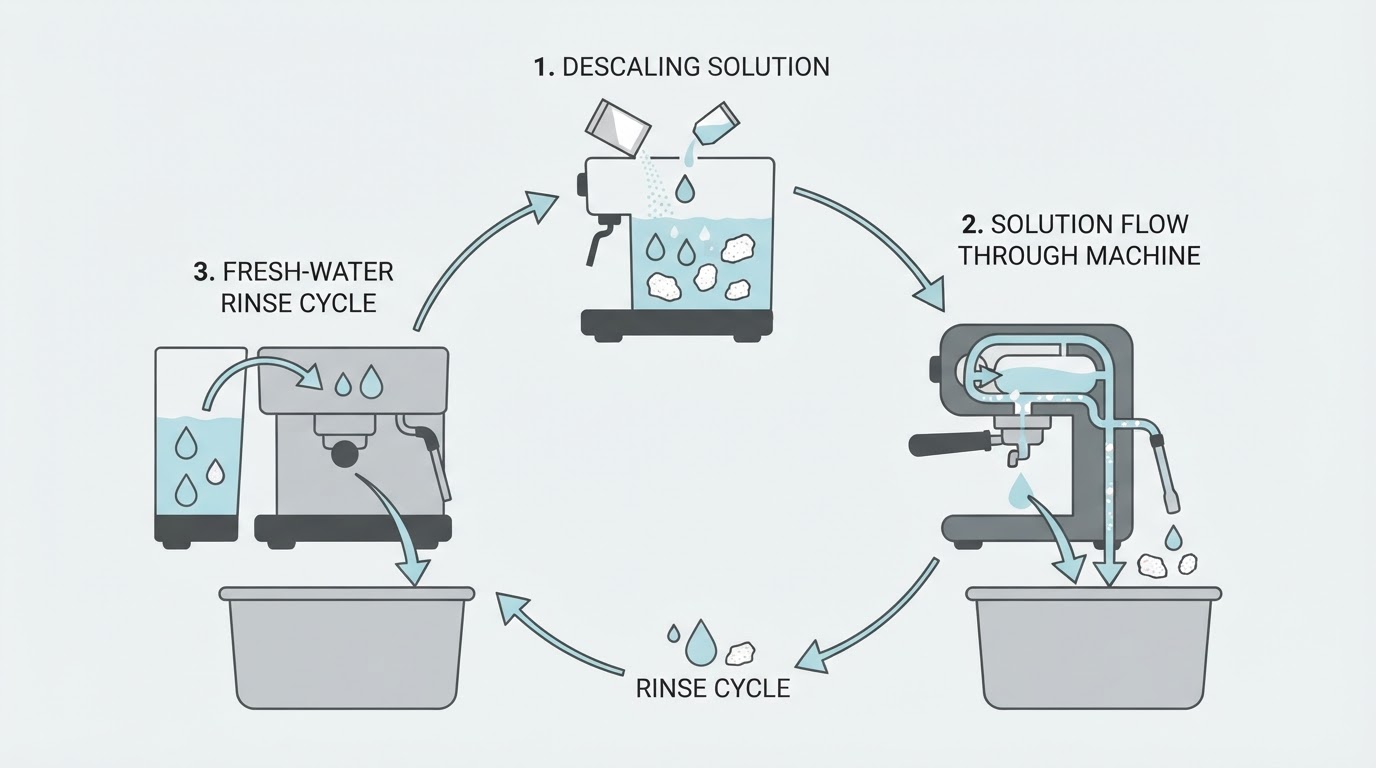
What no pod does is remove mineral scale. Scale is a water problem that forms in the water path, and it needs a descaling solution on its own schedule. A cleaning pod and a descaler are not interchangeable.
Pick the tool that matches the mess
What you notice | Right tool | What it will not fix |
|---|---|---|
The first cup tastes like the last flavor you brewed | Rinse or cleaning pod | Mineral scale |
White crust, slow flow, a machine overdue for descaling | Descaler, or vinegar where the manual allows it | Flavor oils |
Dark residue or grounds around the pod holder | Deep-clean kit with brushes | Scale in the water lines |
Stale-smelling water in the tank | Hand-washing the reservoir | Anything inside the brewer |
How to use a cleaning pod, step by step
Before you start: brewer powered on and ready, reservoir filled with fresh water to at least your largest brew size, a mug or pitcher you do not mind filling with rinse water, and no coffee pod in the holder.
- Clear the slot. Remove any used pod and look at the pod holder. If it is visibly coated, rinse it first so the cleaning pod is not working through old grounds.
- Fill the reservoir with fresh water. Do not top off water that has been sitting in the tank.
- Insert the cleaning pod exactly as you would a coffee pod, and close the handle.
- Brew the largest cup size into the mug. You are not making a drink. Pour the water out.
- Remove the spent pod and bin it. Cleaning and rinse pods are single-use.
- Run one plain-water brew with no pod to flush residue out of the brew path. Run a second if the water looks cloudy or the cleaner is scented.
- Check the result: the rinse water should run clear, and the next coffee should taste like the coffee you brewed, not the cleaner and not the previous flavor. If it does not, run another plain-water cycle before you brew coffee.
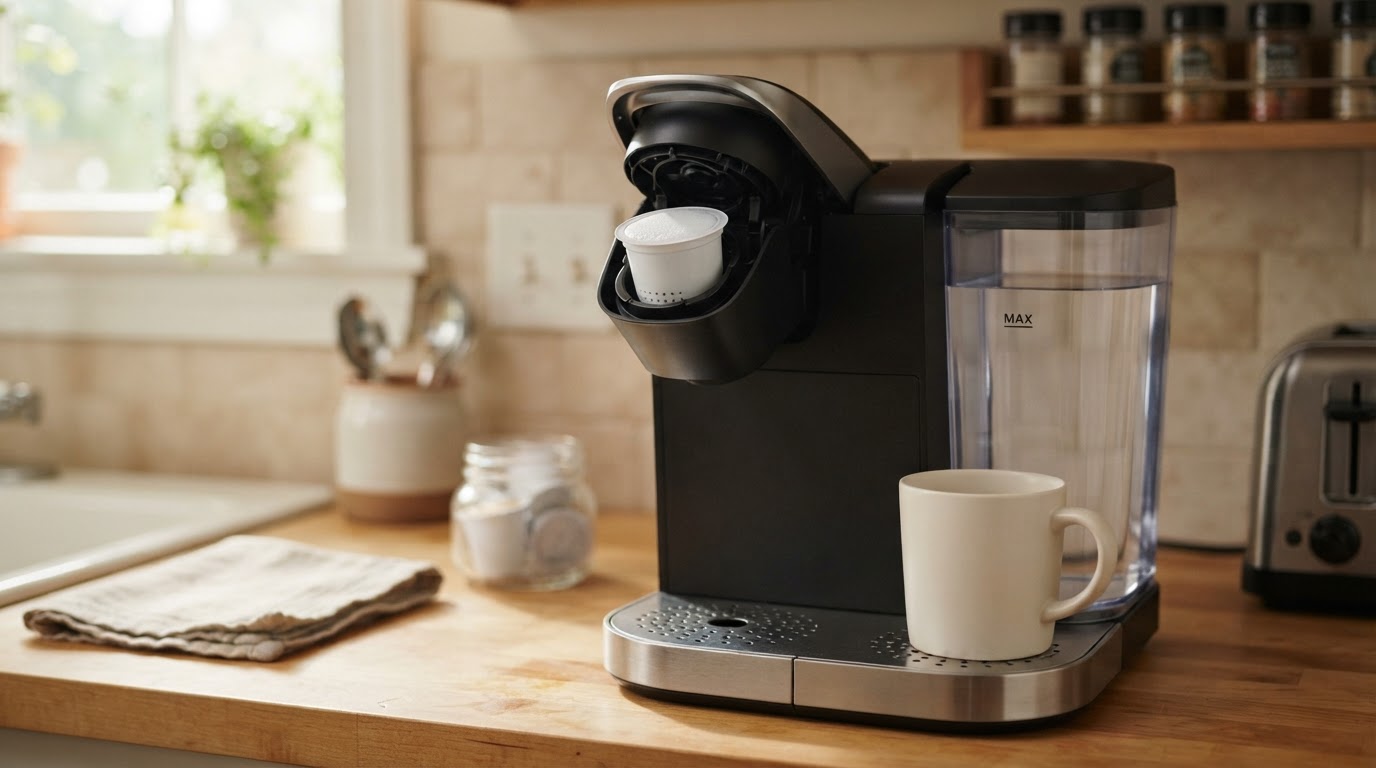
Exact buttons, menus and cup-size names differ by model. The sequence is the same on any brewer that takes K-Cup pods, and your model's manual overrides anything generic you read here.
Which Keurig brewers cleaning pods suit
Pod-format cleaners are built for brewers that take K-Cup pods: compact single-cup machines, models with a removable reservoir, and multi-format brewers that also brew a carafe. If the machine brews K-Cup pods, it has the slot the pod needs.
Compatibility is still stated per product. Some third-party cleaning pods list the generations and models they are rated for, and a few formulations are not recommended for every machine. Match the pod's compatibility statement to your model before you buy, and follow its instruction on which brew size to use. Keurig's own rinse pods are made for Keurig brewers. Machines that use a different pod format are out of scope for these pods.
How often to use one
There is no single interval worth memorizing. The rule that holds up in a real kitchen is simpler: change the rinse when the flavor changes.
— After any strongly flavored pod — flavored coffee, cocoa, cider, spiced tea — brew one cleaning pod before your next plain coffee.
— If you drink plain coffee daily from the same brewer, a weekly pod cycle is a reasonable default.
— If several people share the machine, or flavored pods are in the rotation, run one twice a week.
— If the machine sat unused, run one cleaning pod before the first cup back, especially when water has been sitting in the reservoir.
— On a shared or office machine, run one at the end of the day, or before a busy morning.
Two signs mean the routine is slipping: a visible film or dark residue on the pod holder, and an idle machine that smells of old coffee. Both are easier to handle now than after the flavor has settled into every cup.
A pod cycle is not descaling. Descale on the schedule your manual gives for your water, and expect hard water to move that schedule up. Cleaning pods keep the pod path fresh; the descaler handles the water path. Two jobs, two tools.
What cleaning pods do and do not clean
A pod reaches the route it travels: the pod holder, the brew chamber, the exit needle, and the funnel where the coffee leaves. That is exactly where flavor oils collect, which is why a pod cycle fixes the "why does my coffee taste like yesterday's" problem.
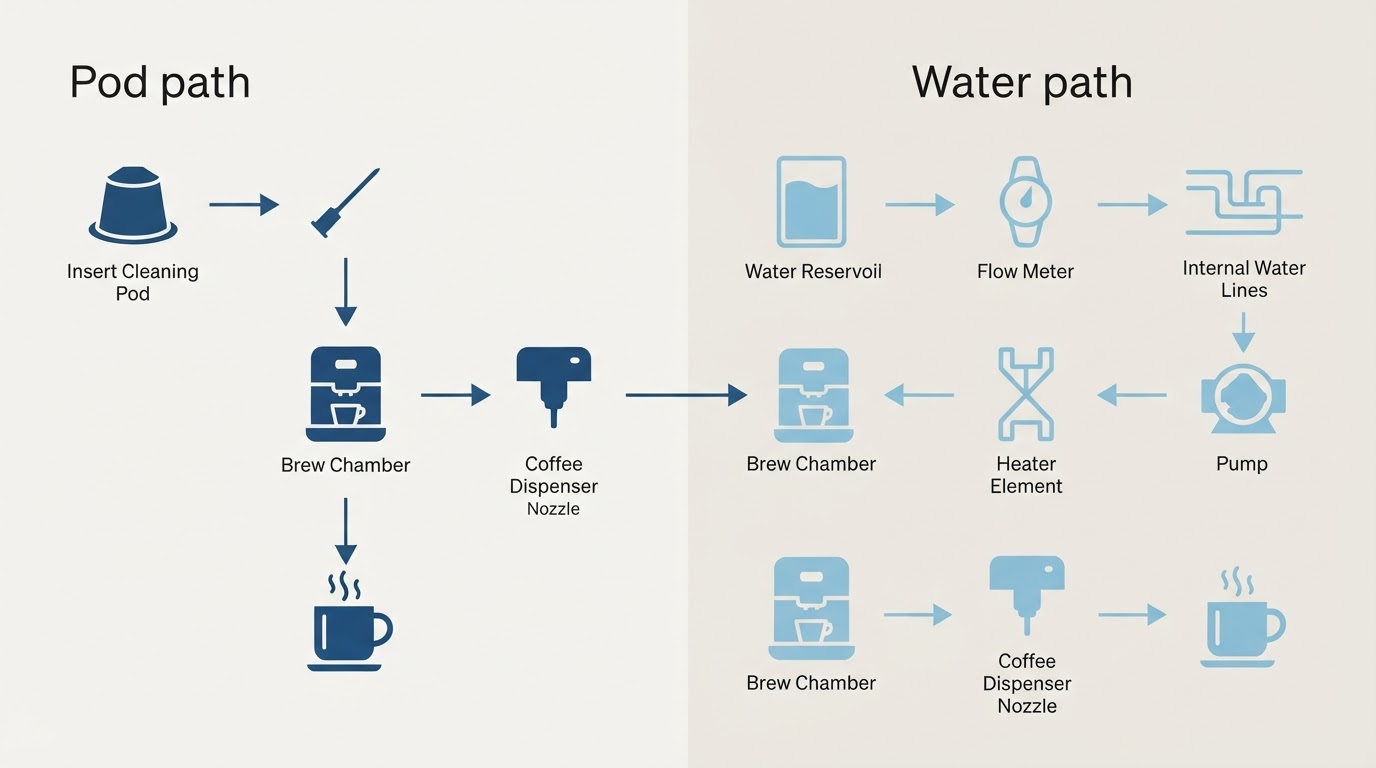
A pod does not reach the water reservoir, the tank walls, the internal water lines, the heating element, the drip tray or the machine's exterior. Some of those parts are hand-wash items. Others belong to the water path, which is a descaling job. A pod also will not clear a blockage: if the flow has slowed to a trickle, the likely cause is a clogged needle or line, and a cleaning pod is not the tool for that.
Cleaning pods, vinegar and deep-clean kits compared
Vinegar is the cheap option, and it does attack scale. The trade-offs are real: the smell lingers through the machine, it takes several plain-water rinses to clear, and it is not the right tool for flavor oils. Check your manual before you default to it, because some manufacturers ask for their own descaling product instead, and the manual wins.
A deep-clean kit covers what a pod cannot: brushes and tools for the pod holder, the needle and the funnel. It is manual work, but it is the only one of the three that removes physical grime, and it is usually what a neglected machine needs first.
Cleaning pods are the fast, repeatable option. They work only on the pod path, they are single-use, and they leave a residue you have to rinse away if you skip the plain-water cycle.
Used together, the three do different jobs: a pod for the flavor problem, a descaler for the scale problem, a kit for the grime problem. Mixing them in one session makes it harder to tell which one caused a change in taste, so keep them in separate routines.
Common mistakes that waste a cleaning pod
Using it as a descaler. If the symptom is white crust or slow flow, a cleaning pod will not touch it, and the scale keeps building while you rinse.
Skipping the plain-water cycle. The cleaning agent is not meant to end up in a cup. One clear rinse is the minimum, and two is safer when the water looks cloudy.
Waiting for a visible problem. "I will clean it when it looks bad" is how machines end up with residue in the pod holder and mold in the reservoir. The flavor test is the earlier and cheaper warning.
Reusing the pod. Rinse and cleaning pods are single-use. A second brew pulls out what the first one already collected.
Blaming the coffee. If the first cup of the day tastes off and a cleaning pod does not fix it, look at the water and the beans before you replace the brewer.
Aftercare that keeps the routine working
— Change the water. Keep fresh water in the reservoir, and do not leave a full tank sitting for days.
— Hand-wash the removable parts on your manual's schedule: reservoir and lid, drip tray, and the pod holder if it lifts out.
— Use filtered water if your tap water is hard. It slows scale and makes the descaling interval easier to live with.
— Store cleaning pods dry and sealed. Pods that absorb kitchen moisture can clump.
— Keep enough pods on hand that one missed weekend does not turn into a skipped month.
— Write the cadence down. A reminder on the fridge or a note on your phone beats memory.
If you want model-specific steps — needle cleaning, when vinegar makes more sense than a pod, and the differences between the K-Elite, K-Mini, K-Duo and K-Cafe — CoffeeBrewsHub's maintenance guides walk through them machine by machine.
Quick answers to common questions
Can I brew a cleaning pod together with a coffee pod?
No. The cleaning pod needs its own cycle, and the coffee pod needs a clean brew path. Brew the rinse first, flush with plain water, then make your coffee.
How many plain-water rinses does a cleaning pod need?
One clear cycle is the minimum. Run a second when the rinse water is cloudy or the cleaner is scented, and a third if the next coffee still tastes of anything but coffee.
Will a cleaning pod fix slow flow?
Rarely. Slow flow points to a clogged needle or scale in the water path. Clean the needle by hand where your manual allows it, and descale for the scale.
Do I still need to descale if I use cleaning pods regularly?
Yes. Pods work on flavor oils in the brew chamber and exit needle. Descaling removes mineral scale from the water path, which a cleaning pod never touches.