What you need before you start
Standard white vinegar from the grocery store — the clear kind, usually around 5% acidity — does the work here. You don't need a descaling kit, a bottle brush, or any special tool. Before you begin, gather:
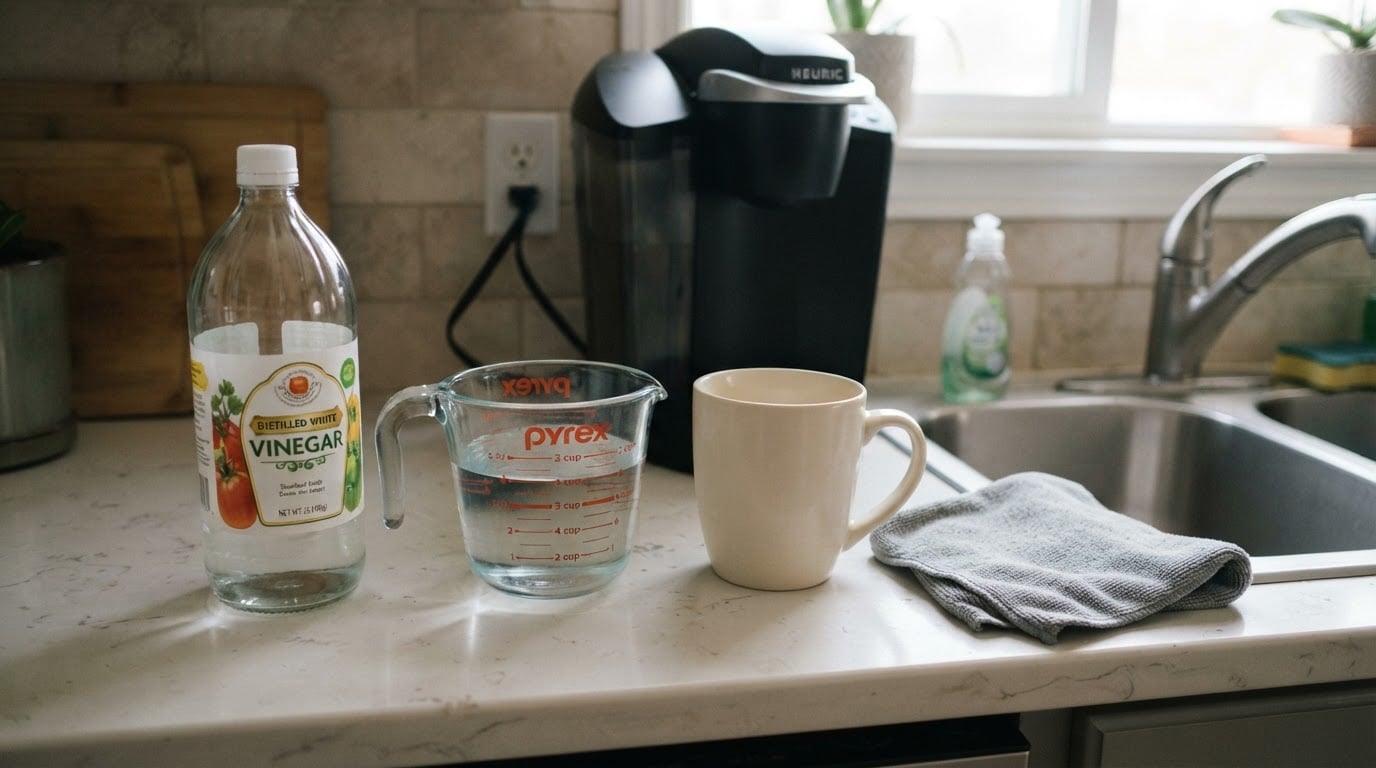
- white vinegar
- fresh water
- a large mug or a measuring cup
- a soft cloth or sponge, plus mild dish soap
- a sink for rinsing
Set aside about an hour, most of it waiting rather than working.
Then run through three checks:
- Unplug the brewer or switch it off, and let it cool if it has been running.
- Take out any K-Cup pod and empty the old water from the reservoir.
- Skim the cleaning section of your manual or the manufacturer's care page. If it says to use only an approved descaling solution, follow that instruction. The vinegar method below is the household route many owners use when they would rather not buy one.
How strong to mix the vinegar
Equal parts white vinegar and water is the mix most owners start with. If your reservoir holds 10 cups, pour in five cups of vinegar and five cups of water. That dilution is strong enough to break down the mineral scale that collects when water is heated and left to cool, and mild enough that you don't have to spend the rest of the morning flushing it out.
For a machine that has not been cleaned in a long time, or one that already brews slowly, straight vinegar in the reservoir works faster. The trade-off is a sharper smell and a longer flush, so plan on a couple of extra water cycles.
Two practical notes:
- Mix in the sink if the reservoir lifts off, then set it back on the machine. If the reservoir is fixed to the brewer, pour the water in first and the vinegar second so the two combine without splashing.
- Don't add soap or any other cleaner to the mix. Soap belongs on the removable parts, never in the water path, and anything extra makes the final taste check harder to read.
Run the vinegar through the machine
Put a large mug on the drip tray, start a brew cycle with no pod in the holder, and let the machine push the vinegar solution through. What lands in the mug will be hot and sour, so pour it down the sink.
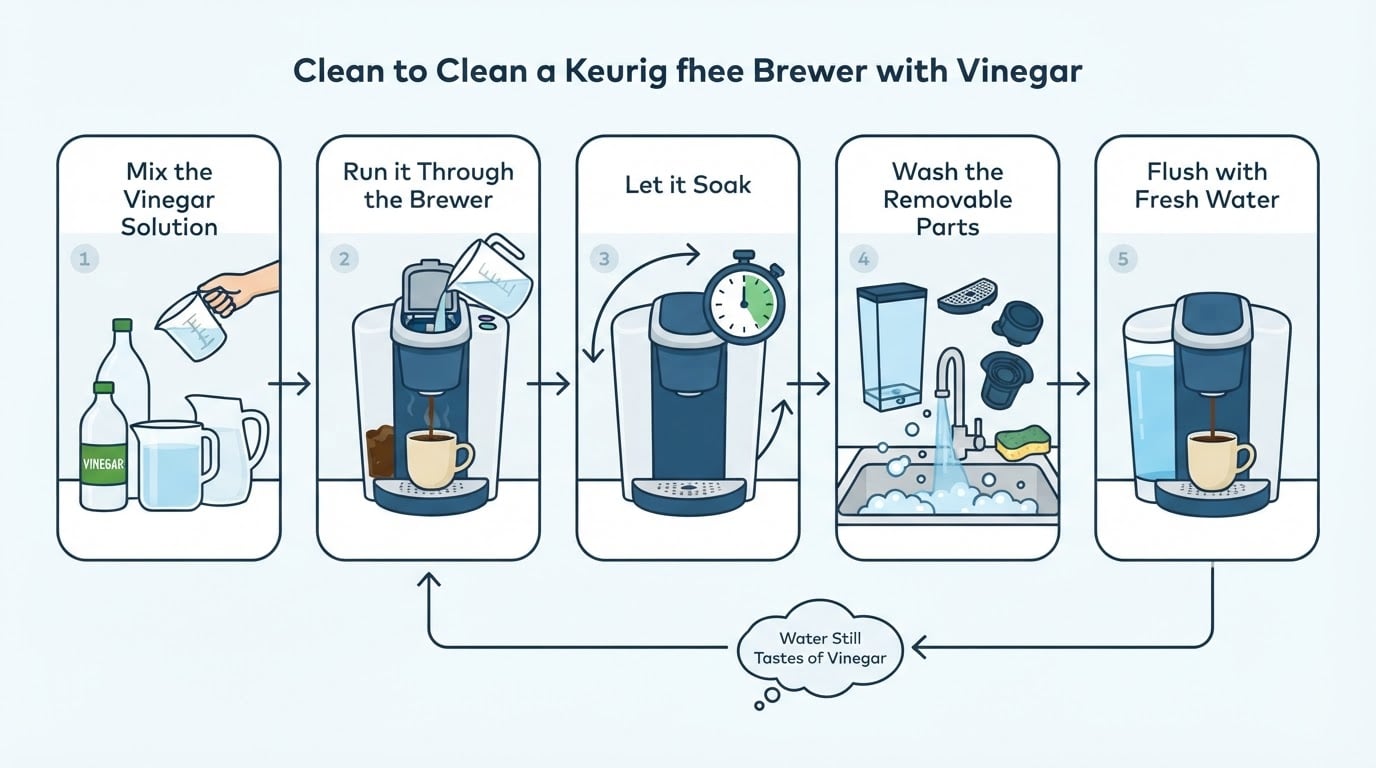
Repeat that cycle until the reservoir is empty or nearly empty. On most Keurig models, a brew cycle without a pod behaves like a normal cup, so you can keep pressing the same button. Some models have a dedicated descale prompt, a descale button, or a specific sequence of button presses; button names and light patterns differ from model to model, so check yours instead of guessing. If your machine has a built-in descaling routine, using it is fine — the goal is the same either way.
If your model requires the pod holder to be closed and latched before it will brew, close it empty. Never run the vinegar cycle with a pod in place.
Let it sit so the acid can do its work
Running the solution through once is the fast part. The pause is what breaks down stubborn scale: after you have cycled most of the reservoir through, let the machine sit with the remaining vinegar solution resting in the reservoir and internal lines for 15 to 30 minutes. For a machine that has gone a year or more without descaling, an hour is a reasonable stretch.
Don't leave the solution in for days, and don't let it sit overnight unless your manual explicitly allows it. Vinegar is an acid, and acid that stays against seals, gaskets, and internal plastic parts for a long time is not doing the machine any favors.
Use the wait to wash the parts that come off.
Wash the parts that come off
While the solution soaks, take off everything that lifts off: the water reservoir and its lid, the drip tray and drip tray plate, and the pod holder or funnel assembly if your model releases it.
Wash those parts in warm water with a drop of mild dish soap and a soft sponge or cloth. Rinse until no soap film remains, then air-dry them or wipe them with a clean towel. A bottle brush helps with narrow openings, but a sponge reaches most of what matters here.
A few cautions:
- If the pod holder doesn't lift out easily, don't force it. Wipe around it with a damp cloth and check your manual for the procedure.
- The piercing needle sits above the pod holder on many machines. Once the brewer is unplugged, wipe that area gently with a damp cloth. Don't poke at it with a knife, a paper clip, or any tool, and don't bend it.
- Only removable parts go in the sink. The main unit should never be submerged or put in a dishwasher.
- Some parts are dishwasher-safe and some are not, and it varies by model. If the manual doesn't say dishwasher-safe, wash by hand.
Flush with fresh water until it tastes clean
Empty whatever is left in the reservoir, give it a quick rinse, and fill it with fresh water. Run full water-only cycles through the machine, discarding each mug, until the reservoir is empty. Then fill it and do it again.
Two to three full reservoirs of fresh water is typical. If your water is hard, or if you used straight vinegar, budget for more. The job is finished when a cup of water comes out clear, smells like nothing but water, and tastes neutral — no sour edge, no vinegar smell in the steam.
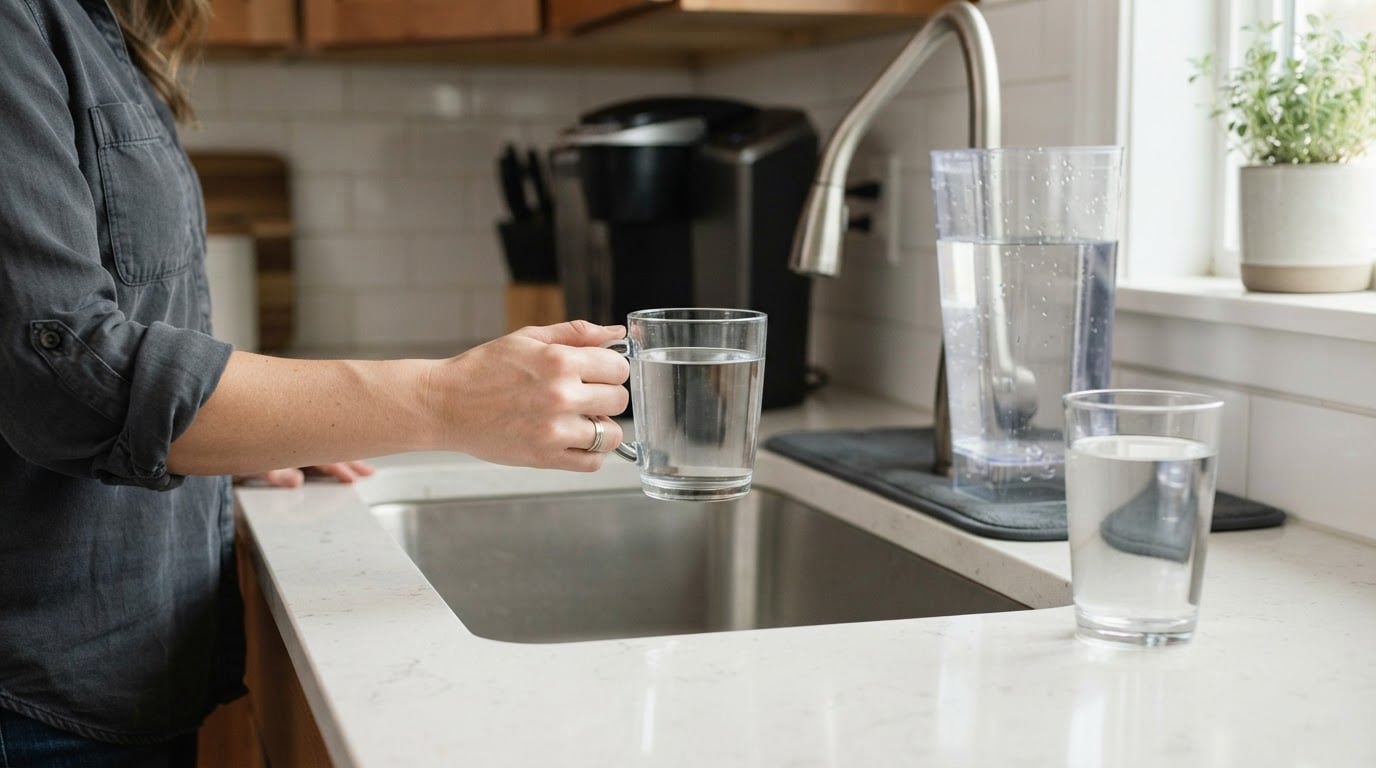
If you still taste vinegar, keep flushing. There is no shortcut here, and stopping early means the next cup of coffee will carry the vinegar with it.
When vinegar isn't enough
Vinegar handles light scale well. It is not a cure for everything, and there are situations where the machine needs a dedicated descaling product instead:
- The descale light or reminder returns after you have already flushed.
- The flow slows down, the coffee comes out weak or lukewarm, or a brew cycle takes noticeably longer than it used to.
- You can see white, chalky buildup on the pod holder, around the needle, or inside the reservoir.
- Water still tastes or smells off after several full flushes.
- You see dark spots or a slimy film, or smell something musty rather than vinegary.
For the first four, a purpose-made descaling solution is the next step. Those products are built around a different acid blend than vinegar and are designed to be flushed out of the internal water path, so they often clear scale that a household vinegar run leaves behind. Use them exactly as the package or manual directs, and don't mix them with vinegar in the same cycle.
Mold and musty smells are a different problem. Descaling removes mineral scale, not biological growth inside the plumbing. Clean every removable part thoroughly and repeat if needed, and if the smell comes back or the machine stops heating or flowing properly, look at service options for its age rather than another round of vinegar.
If your model needs specific steps
If the generic sequence above doesn't line up with the buttons, lights, or parts on your machine, model-specific walkthroughs save time. CoffeeBrewsHub publishes cleaning and maintenance guides that cover Keurig machines with and without vinegar, needle cleaning, mold removal, and step-by-step routines for models such as the K-Elite, K-Mini, K-Duo, and K-Cafe, along with daily, weekly, and quarterly maintenance schedules and symptom-first troubleshooting. When the machine in front of you behaves differently than the usual instructions assume, that is the faster path. The guide above still stands on its own; the model-specific pages are there for the parts that vary.
How often to repeat it
Let the machine tell you, then back it up with a habit.
A quarterly reminder is a simple baseline for most households: put a recurring note in your calendar, or write the date on a piece of tape on the machine when you finish. If your water is hard, or if the machine gets heavy use, plan on more often. If you use filtered water, you can stretch the interval. Any time the flow slows, the coffee tastes flat, or a descaling reminder appears, clean it then instead of waiting for the reminder.
Two checks keep the schedule honest:
- The flush is the finish line. If the water still tastes like vinegar, the job is not done, regardless of what the calendar says.
- The reservoir is the first place scale shows up. If you can see or feel a film when you refill it, the machine is due.