Three Things "Leaking" Can Mean
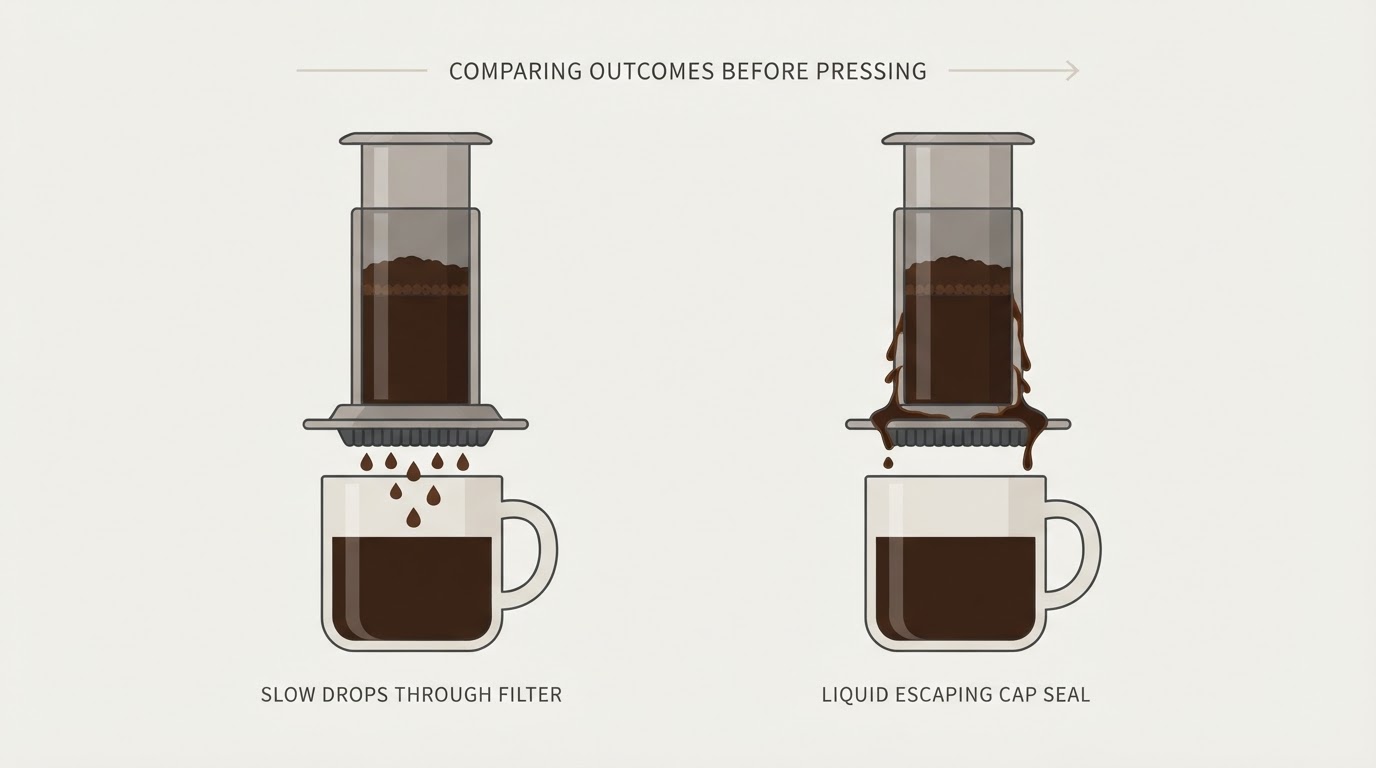
Expected drip-through through the bottom filter
While the grounds steep, gravity pulls a little brewed coffee through the filter. AeroPress recommends a medium-fine grind, a level bed and a slow pour, and its guidance notes that even then a minor amount of liquid can pass through before you stir and press (What grind size should I use?). Its rough estimate of about 2 to 3% describes one workflow; it is not a diagnostic limit for every recipe, grind or brewer size, and not a pass or fail threshold.
Excessive through-filter flow
If flow is faster than a few slow drops but the outside stays dry, coffee is still going through the filter. Common causes are a coarse grind, a disturbed bed, a creased filter or an off-center filter. Fast flow alone does not prove a cracked body.
Physical leak around the chamber or cap
A side leak shows up as coffee tracking down the chamber wall, pooling at the cap threads or landing outside the mug. That points to the cap, rim, filter seating or a damaged seal, not grind alone. A cracked chamber, torn gasket or warped cap will not be repaired by grinding finer; damaged parts need replacing.
Safety Before You Inspect the Cap or Filter
Empty the brewer and let it cool before you unscrew the cap or reseat the filter. Never unscrew a hot, full brewer, and never force a stuck plunger: hot coffee under pressure can release suddenly. Work over a stable counter with a sturdy, heat-safe mug, and keep hands clear of the cap seam.
A Safe Upright Correction Sequence
- Cool, empty and stabilize. Let the brewer cool, empty it, and set a sturdy heat-safe mug on a stable surface. Avoid thin glass that could tip.
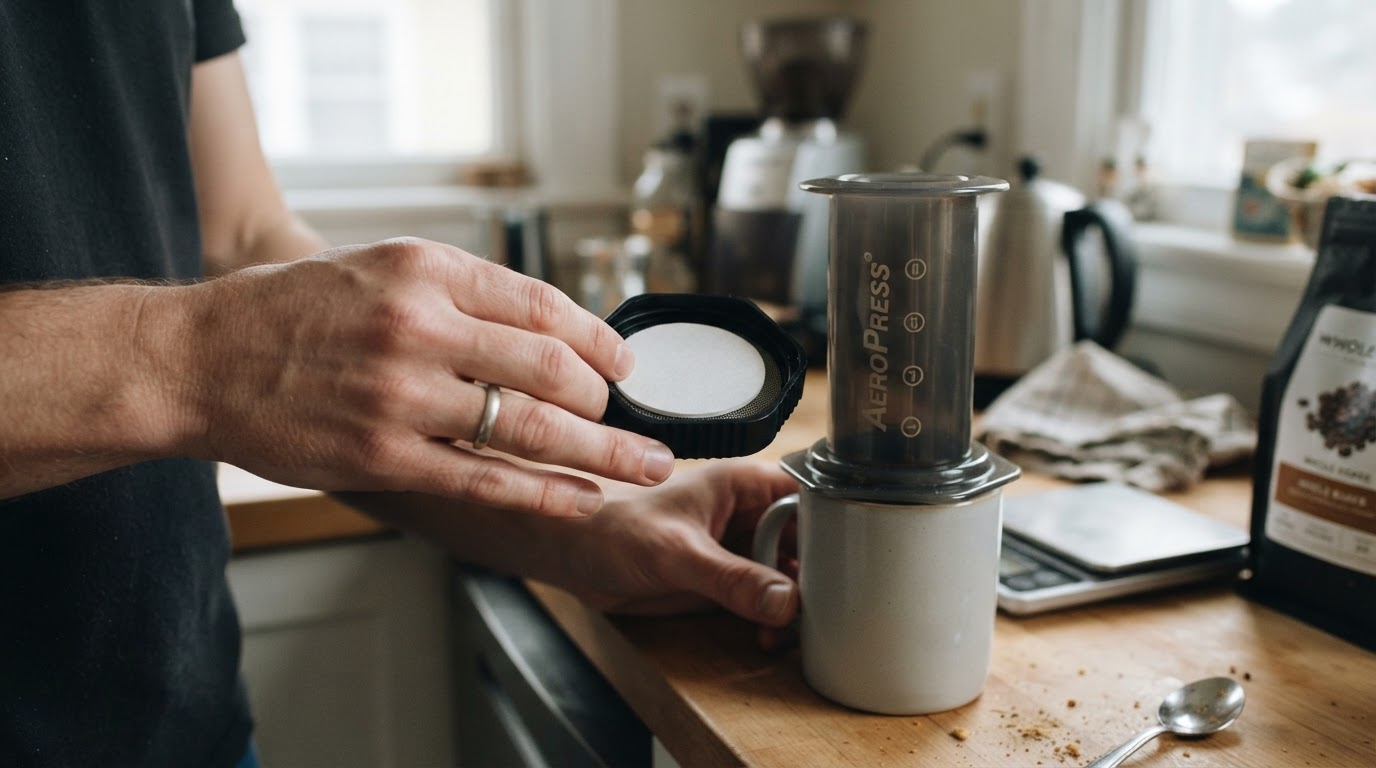
- Check the cap and filter. Rinse the cap and chamber rim, place a fresh filter flat in the cap, and screw the cap on until it seats evenly. Grounds or dried coffee on the rim can hold the cap open on one side.
- Check the grind and bed. Shake the chamber to level the grounds and pour slowly. If the flow stays heavy, go one step finer, but expect more resistance when you press.
- Check the plunger and chamber. Insert the plunger straight and let it settle rather than forcing it at an angle. Clean the silicone seal and check it sits flat. Plunger insertion can reduce drip but is not an absolute seal guarantee; pressing harder will not fix a seating problem.
Decision Table: Match the Symptom to the Safe Next Step
What you see | Likely cause | Safe upright response |
|---|---|---|
A few slow drops, outside dry | Expected drip-through | Keep grind, level bed, pour slowly |
Steady drip or stream through filter, outside dry | Coarse grind, disturbed bed or filter not seated | Check filter, level bed, adjust grind one step |
Liquid around cap threads or outside chamber | Cross-threaded cap, dirty rim, creased filter or damaged seal | Cool and empty, clean rim, reseat fresh filter, inspect for damage |
Flow persists after filter and seating checks | Possible damaged chamber, cap or seal | Stop; do not grind finer; inspect cracks and replace parts |
Coffee around plunger | Angled plunger or uneven seal | Stop, reseat straight, clean seal; do not force |
The Flow Control Filter Cap: Scope the Fit to the Cited Product
The AeroPress Flow Control Filter Cap is a separate accessory, not another name for the standard cap. Its valve holds coffee in the chamber until you press, changing how much drip-through you see. It does not replace a filter: AeroPress's help page for this cap says a Standard size paper or metal filter must be used, and the cap is not compatible with XL AeroPress filters (Do I need to use a filter with the Flow Control Filter Cap?). Scope that claim to the cited product. Do not assume every AeroPress model, XL brewer or metal-filter setup fits the same way; check the labeling for your brewer before buying.
What to Do Next
Start with cheap checks: a fresh flat filter, a clean cap rim and a level bed. If flow or side seepage continues, inspect the chamber rim, cap threads and seal for cracks, chips, warping or coffee buildup, and replace damaged parts rather than compensating with finer grind or harder pressing. Keep the brewer upright.
Cleaning is separate from sealing. Our guide to whether the AeroPress is dishwasher safe explains which parts can go in the machine and which should be washed by hand. When the outside stays dry and the mug holds only slow drips, drip-through is normal.